If you've never been through a professional interior photography shoot before, it's natural to wonder what you're walking into. You've hired a photographer, picked a date, and now you're thinking — what actually happens on that day?
The short answer: a lot more collaboration than most designers expect, and a lot more intention behind every image than what's visible on the surface. A professional shoot isn't someone showing up with a camera and snapping what they see. It's a structured, hands-on process where the photographer and designer work side by side to turn a finished project into portfolio-quality imagery.
Here's what that looks like from start to finish — so you can walk into your next shoot knowing exactly what to expect and how to get the most out of it.
It Starts Before Shoot Day
The best shoots don't start when the photographer walks through the door. They start with a conversation — usually a phone call or video chat — where we align on what matters most about the project.
I want to know what makes each space special to you. What design problems did you solve? What details are you most proud of? And just as important — what's the end goal for these images? A website portfolio refresh looks different from a magazine submission, which looks different from content for social media. Knowing the intended use upfront shapes the shot list, the variety of compositions, and how much time we spend on detail work.
If time and budget allow, a pre-shoot site visit can be incredibly valuable. Walking the space together before the actual shoot day lets us scout angles, evaluate the natural light at different times of day, and identify any styling needs ahead of time. Not every project requires this, but for larger homes or editorial-level work, it makes a noticeable difference.
Preparing the Space
On shoot day, preparation is everything. The space needs to be clean — not just tidy, but photographically clean. Cameras pick up things the eye forgives: a fingerprint on a faucet, dust on a shelf, a cord trailing behind a lamp.
I typically ask designers to handle a few things before I arrive. Personal items like family photos and daily clutter should be removed or relocated. Surfaces should be wiped down. And if there are any unfinished details — a vent hood that hasn't been painted, drapes that haven't been hemmed — let me know in advance so we can plan around them or handle them in post-production.
One thing that comes up on almost every shoot: the homeowner situation. I know this can feel like an awkward conversation, but it makes a difference if the homeowner can step out for the day or at least stay in another part of the house. There's a lot of movement during a shoot — furniture gets shifted, props get staged, equipment takes up space. It can look chaotic mid-process even when everything is going to plan, and having the homeowner watch that unfold creates unnecessary stress for everyone. When the space is ours to work in freely, the day runs faster and the results are better.
The Walk-Through
Once I arrive and get my gear set up, the first thing we do together is walk every room. This is one of my favorite parts of the process — and one of the most important.
I'll use my phone to quickly frame potential compositions as we move through the space. We'll talk through what we like, what isn't working, and which angles best tell the story of each room. This informal scouting process becomes our shot list for the day.
This is also when I want to hear from you about anything that needs special attention. Maybe you sourced a custom hardware detail you want highlighted. Maybe there's an architectural element that only reads well from a certain angle. The more you tell me here, the better the final images will reflect your design intent.
How We Work Through Each Room
With the shot list roughed out, we start shooting — and this is where the real collaboration happens.
I shoot tethered to an iPad that I can carry through the space. This means whoever is styling — whether that's you or a dedicated stylist — can pick up the iPad, walk into the shot, and make adjustments while watching what the camera sees in real time. Move a vase two inches to the left, reposition a throw pillow, adjust a floral arrangement — and see exactly how that change reads on screen as you're doing it. We're able to perfect the styling before I ever take the shot.
For more complex setups, I'll also have a laptop tethered as a second screen. So if a stylist is in the scene with the iPad making hands-on adjustments, the designer can stand behind the laptop and watch, make suggestions, and direct from there. It allows for incredible communication between everyone involved — no one has to crowd behind the camera or take turns checking the back of the screen.
One thing I've noticed over the years: designers sometimes get self-conscious when they see themselves on the tethered screen while they're styling a shot. It's completely normal, and I always remind them — the camera isn't watching you, it's watching the room. Don't let that screen make you hesitate. Your adjustments in real time are what make the final images feel intentional.
The shot hierarchy.
For each room, I work through a deliberate sequence of shot types:
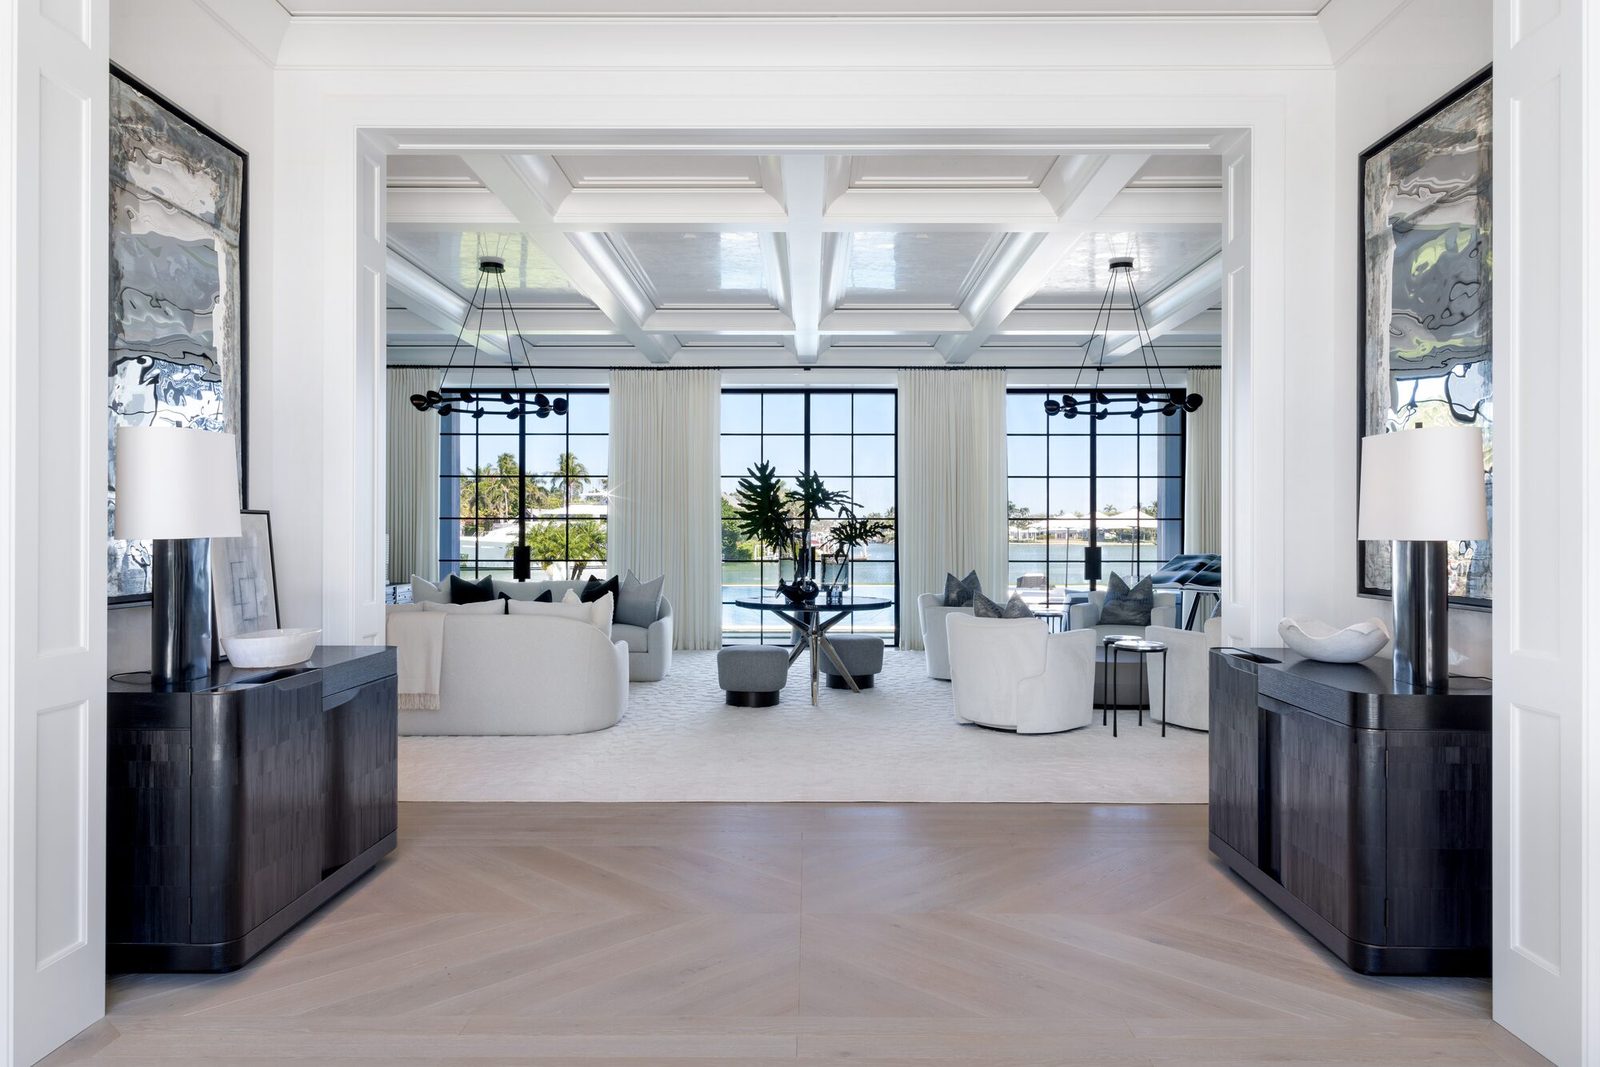
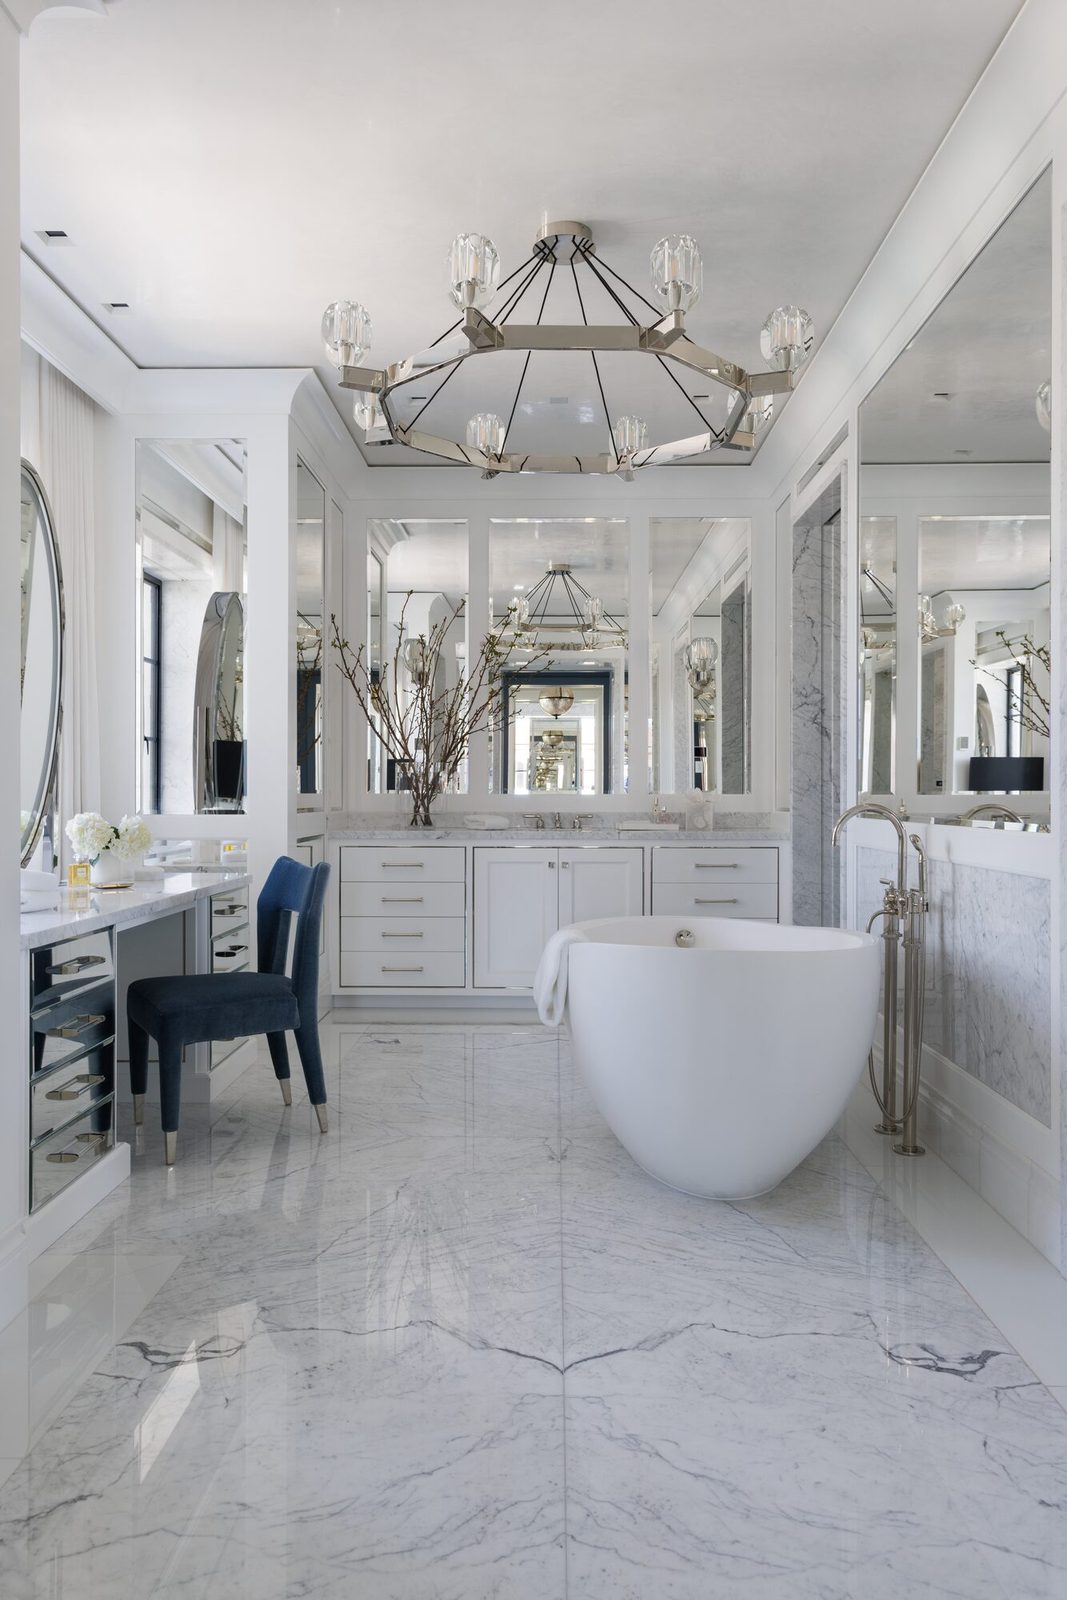
Wide shots come first. These are your hero images — landscape-format compositions that establish the room's layout, architecture, and spatial flow. They set the stage without looking like a real estate listing.
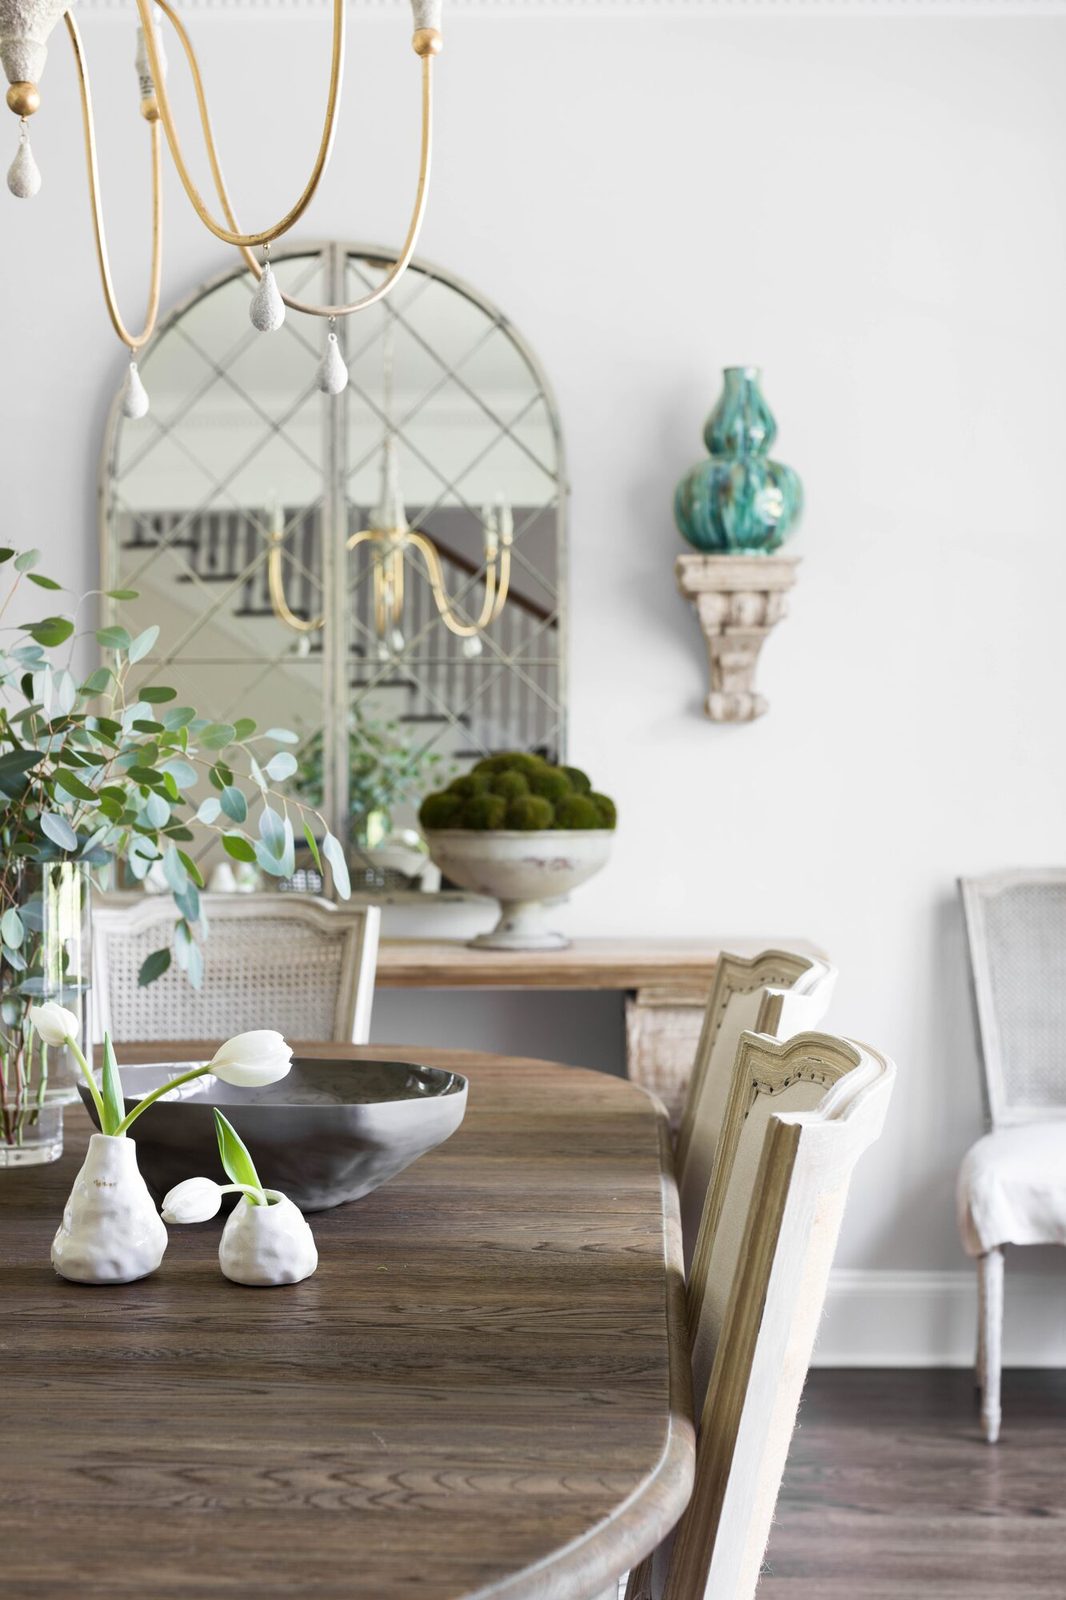
Medium shots come next. These are often vertical and focus on specific design moments — a styled vignette, the relationship between a piece of furniture and the art above it, the way light falls across a textured surface. These are your Instagram and Pinterest workhorses.
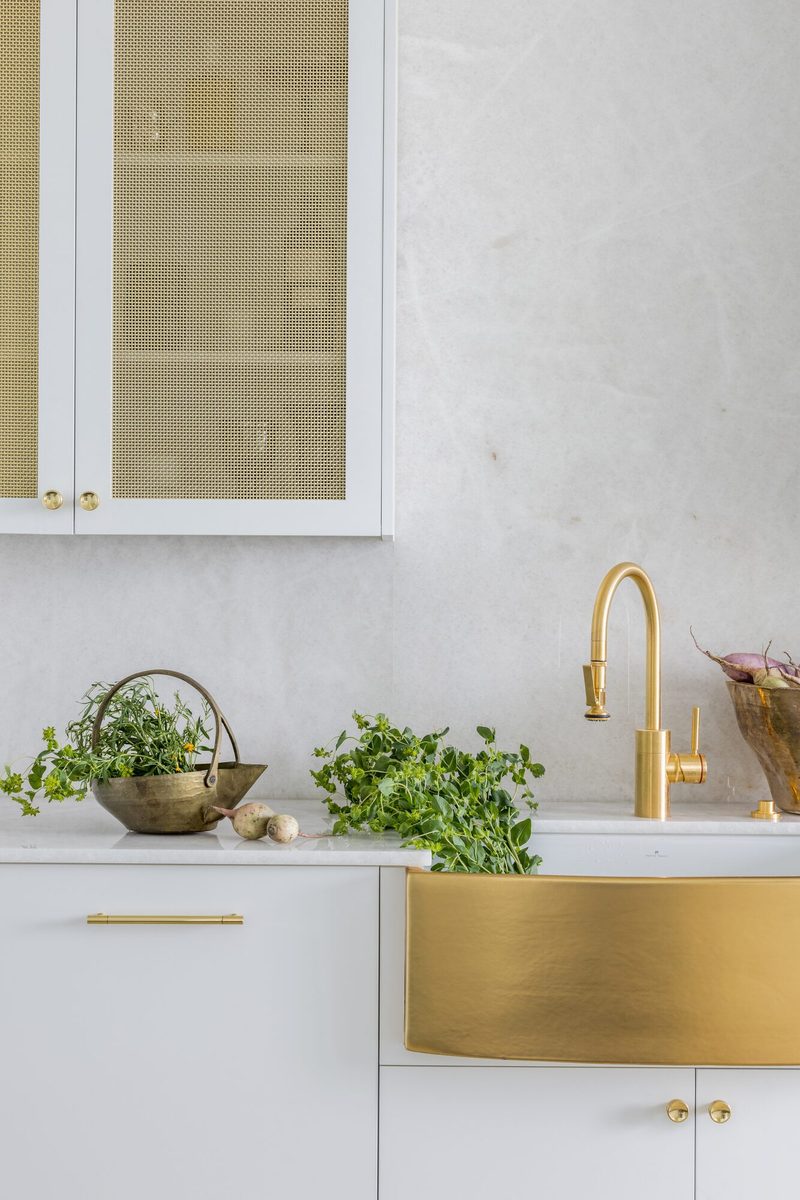
Detail shots round things out. Tight, often with a shallow depth of field, these capture the materials and craftsmanship that make a space feel considered — the grain of a countertop, the weave of a textile, the finish on a piece of hardware.
This wide-to-tight approach isn't just a shooting preference. It gives you a complete visual story for any use case — enough variety for a magazine feature, a website gallery, and a social feed, all from the same shoot.
Styling on Set
Styling is where the line between design and photography gets blurry — in the best way.
After I've framed a composition based on the architecture and fixed elements, we start working the movable pieces. Sometimes that means minor tweaks — fluffing a pillow, angling a book spine, tucking a cord behind a table leg with a zip-tie. Other times it means moving an entire sofa six inches to the left because the composition needs it.
I take cues from you on how styled you want the shots to feel. Some designers prefer a clean, minimal look. Others want that editorial layer — the fresh flowers, the styled coffee tray, the carefully placed objects that make a room feel alive. There's no right answer, and we'll dial it in together as we go.
A few things I always bring or recommend for shoot day: fresh flowers in white or cream (they photograph beautifully in almost any space) and a steam iron for curtains and bedding. These small details are invisible in the final image, but they're the difference between a photo that looks polished and one that looks almost-there.
Lighting That Looks Effortless
One of the most common questions I get is about lighting. The goal — always — is for the room to look like it's lit naturally. Even when it isn't.
I work with natural light whenever the space allows it. When a room needs help — deep shadows, inconsistent color temperature, blown-out windows — I'll bring in strobes. But the key is that nobody should ever look at the final image and think that was lit with a strobe. The lighting should feel like the room on its best day, not like a studio setup was wheeled in.
This is one of the clearest differences between editorial interior photography and real estate photography. Real estate shooting prioritizes speed and brightness. Editorial shooting prioritizes mood and authenticity. The lighting approach is a big part of what makes that distinction.
What Happens After the Shoot
When we wrap for the day, the work isn't over — it's just shifting from on-set to post-production.
I go through every image, culling for the strongest compositions and then editing for consistency: correcting color, balancing exposure, straightening any lines that need it. The goal in post-production is to enhance what was captured, not to fabricate something that wasn't there.
There are a few things I routinely clean up digitally — light switches, wall vents, stray electrical cords, maybe a ghost reflection of the crew in a window. But I'm careful about what gets removed. If a designer specifically sourced custom HVAC grilles or a luxury lighting control panel, those stay in. Post-production should serve the design intent, not override it.
Turnaround time varies depending on the scope of the project, but I'll typically share a preview gallery within a couple of weeks so you can start planning how to use the images.
Getting the Most Out of Your Shoot
If there's one piece of advice I'd give a designer going into their first professional shoot, it's this: don't overthink it.
I've worked with designers at every stage of their careers, and newer designers especially tend to stress about things that honestly don't matter that much — the exact placement of every single object, whether the room looks "good enough," whether they're making the right choices. That's my job to help with. On shoot day, I'm the steady presence in the room, and my goal is to guide you through the hundreds of small decisions that come up without any of them feeling high-stakes.
Come prepared — a clean space, a general sense of what you want to highlight, and any styling props you want to bring. But once we start shooting, trust the process. The walk-through, the tethered collaboration, the styling adjustments — it all works together. By the end of the day, you'll have images that look like the best version of what you designed. And that's the whole point.
If you're planning a shoot and want to talk through what to expect for your specific project, I'd love to hear from you.
Frequently Asked Questions
How long does a typical interior design photography shoot take?
It depends on the scope of the project. A focused session covering a few key rooms might take half a day, while a full-home shoot with extensive styling can run a full day or longer. The number of rooms, the level of styling involved, and whether you're shooting for a specific publication all affect the timeline. I always discuss this during the pre-shoot consultation so there are no surprises.
Should the homeowner be home during the photo shoot?
Ideally, no. Photo shoots involve a lot of movement — shifting furniture, staging props, repositioning accessories. It can look chaotic mid-process even when everything is going well, and having the homeowner present can create unnecessary stress. If they can't leave entirely, staying in a separate part of the house works too. The goal is to give the team room to work freely and efficiently.
What should an interior designer bring to a photo shoot?
Come with a clear sense of which design details you want highlighted and any styling props you'd like to incorporate — fresh flowers, books, trays, textiles. A steam iron or steamer for fabrics is essential. Beyond that, your most important contribution is your eye and your input during the collaborative styling process. The photographer handles the technical side.
Do I get to see the photos during the shoot?
Yes — I shoot tethered to an iPad, which means you're seeing compositions in real time as they're captured. This allows us to make styling adjustments on the spot rather than discovering issues after the fact. It's one of the most valuable parts of the process because it turns the shoot into a true collaboration rather than a one-sided capture.
What's the difference between a photo shoot for social media versus a magazine submission?
The core process is similar, but the shot variety and technical standards differ. Magazine submissions require a broader range of compositions — wide heroes, medium vignettes, and tight details — all at a consistently high technical level. Social media content can be more focused and casual. Knowing your end goal upfront allows us to plan the shot list and allocate time accordingly.